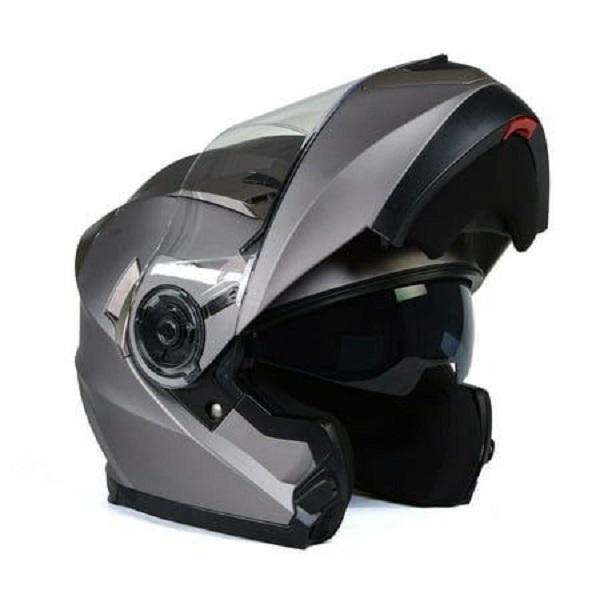
How to Take Off Motorcycle Helmet Visor: A Comprehensive Guide
Taking off the visor of your motorcycle helmet is a simple but essential task for maintenance and cleaning. Whether you need to replace a scratched visor or simply want to clean it, knowing the correct procedure ensures that you don’t damage your helmet. This guide will walk you through the steps to safely and efficiently remove your motorcycle helmet visor.
Why You Might Need to Remove Your Helmet Visor
Understanding why you might need to remove your helmet visor can help you appreciate the importance of doing it correctly:
1. Cleaning
Dirt, bugs, and grime can accumulate on your visor, obstructing your view and affecting safety. Regular cleaning is crucial to maintaining clear visibility while riding.
2. Replacement
Over time, visors can become scratched or damaged. Replacing a damaged visor ensures that your helmet continues to offer the protection and visibility you need.
3. Helmet Maintenance
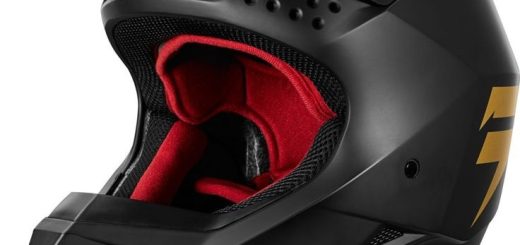
Removing the visor allows for a thorough inspection and cleaning of the helmet’s interior. This is important for maintaining hygiene and ensuring the helmet remains in good condition.
4. Ventilation
Sometimes, adjusting or removing the visor can improve ventilation or accommodate different weather conditions, enhancing your riding experience.
Tools and Materials Needed
Before you start, gather the necessary tools and materials:
- Screwdriver: Depending on your helmet’s design, you may need a Phillips or flathead screwdriver.
- Clean Cloth: A microfiber cloth for cleaning and wiping down parts.
- Helmet Cleaner: Optional, but helpful for cleaning the visor and helmet.
- Replacement Visor: If you’re replacing the old one.
Step-by-Step Guide to Removing Your Motorcycle Helmet Visor
Follow these steps to remove your motorcycle helmet visor safely and effectively:
1. Prepare Your Workspace
Choose a clean, well-lit workspace to avoid losing any small parts. Lay down a soft cloth or towel to prevent scratching the helmet or visor.
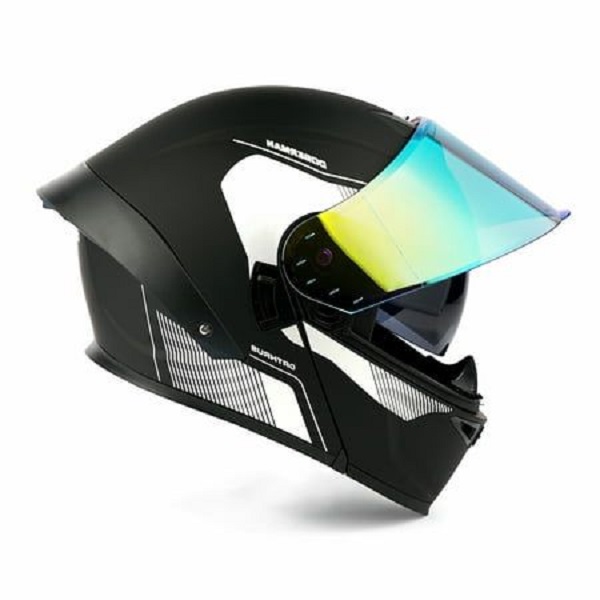
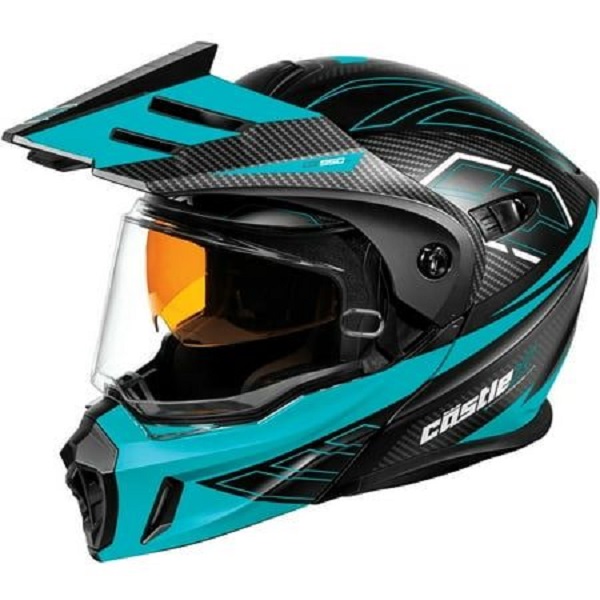
2. Locate the Visor Mechanism
Identify the visor attachment mechanism on your helmet. Most helmets have either screws or a quick-release system. The mechanism is usually located on the sides of the helmet.
3. Remove Screws (if applicable)
If your helmet uses screws to attach the visor:
- Use the Correct Screwdriver: Select the appropriate screwdriver for the screws (Phillips or flathead).
- Unscrew Carefully: Gently unscrew each screw, keeping them in a safe place to avoid losing them. Hold the visor in place as you remove the screws to prevent it from falling.
4. Detach the Visor
Once the screws are removed, gently pull the visor away from the helmet. Be careful not to apply too much force to avoid damaging the helmet or the visor.
5. Remove Quick-Release Mechanism (if applicable)
For helmets with a quick-release system:
- Locate the Release Levers: These are usually found on the sides of the helmet.
- Press or Slide the Levers: Follow the manufacturer’s instructions to release the visor. This system is designed for easy removal, so the process should be straightforward.
6. Clean the Visor and Helmet
After removing the visor, clean it with a microfiber cloth and helmet cleaner if needed. Also, wipe down the helmet where the visor attaches to remove any dust or residue.
7. Inspect and Replace
Inspect the visor for any signs of wear or damage. If you’re replacing it, align the new visor with the attachment points and follow the installation instructions provided with the new visor.
8. Reattach the Visor
To reattach the visor:
- Align the Visor: Position the visor back onto the helmet, ensuring it aligns correctly with the attachment points.
- Screw or Click into Place: If using screws, gently tighten them without over-tightening. For quick-release systems, follow the manufacturer’s instructions to secure the visor.
9. Check for Proper Function
Once the visor is reattached, check that it opens and closes smoothly. Ensure there are no gaps or misalignments.
Troubleshooting Common Issues
Even with careful removal, you might encounter some issues. Here’s how to address common problems:
1. Stuck Visor
If the visor is stuck:
- Check for Obstructions: Ensure no debris or dirt is blocking the mechanism.
- Gently Wiggle: Try gently wiggling the visor to free it without applying excessive force.
2. Screws Not Aligning
If the screws don’t align properly:
- Inspect the Holes: Check for any damage or misalignment in the screw holes.
- Reposition the Visor: Try adjusting the visor slightly to ensure proper alignment.
3. Quick-Release Mechanism Issues
For quick-release systems that don’t work smoothly:
- Check for Damage: Inspect the mechanism for any damage or debris.
- Consult the Manual: Refer to the helmet’s manual for specific troubleshooting steps.
Best Practices for Helmet and Visor Care
Proper care of your helmet and visor ensures longevity and optimal performance. Follow these best practices:
1. Regular Cleaning
Clean the visor regularly to maintain clear visibility. Use a microfiber cloth and helmet-specific cleaner to avoid scratching the surface.
2. Inspect for Damage
Regularly inspect the visor and helmet for any signs of damage or wear. Address any issues promptly to ensure safety.
3. Store Properly
When not in use, store your helmet in a cool, dry place. Avoid leaving it in direct sunlight or extreme temperatures, which can degrade materials.
4. Replace as Needed
Replace the visor or helmet if you notice significant damage or wear. Riding with a damaged visor can compromise safety and visibility.
Advanced Tips for Helmet Visor Maintenance
For those who want to go the extra mile in maintaining their motorcycle helmet and visor, consider these advanced tips:
1. Use Anti-Fog Solutions
Anti-fog solutions are available for motorcycle visors to prevent fogging, especially in colder weather. Apply these solutions to the inside of the visor for clearer vision in various conditions.
- Application: Follow the manufacturer’s instructions for application. Typically, you’ll apply a thin layer and let it dry before use.
2. Invest in a Visor Cleaning Kit
A dedicated visor cleaning kit can provide the tools needed for a thorough clean. These kits often include specialized cleaning solutions and cloths designed to protect the visor’s surface.
- Kit Components: Look for kits that include a cleaning solution, a microfiber cloth, and a storage case.
3. Check for UV Protection
Some visors offer UV protection to shield your eyes from harmful rays. Check if your visor has this feature and consider replacing it with a UV-protective visor if it doesn’t.
- UV Rating: Check the visor’s specifications or consult with the manufacturer to ensure adequate UV protection.
4. Regularly Lubricate Moving Parts
If your helmet visor has moving parts or a hinge mechanism, regular lubrication can ensure smooth operation. Use a lubricant suitable for plastics or metals, depending on the helmet’s design.
- Lubrication Points: Apply lubricant to the pivot points and hinges. Avoid over-lubricating, which can attract dust.
5. Store Visors Separately
When not in use, store spare or removed visors separately in a protective case or pouch. This prevents scratches and keeps them in good condition for future use.
- Storage Tips: Use a soft cloth or case to protect the visor’s surface from dust and accidental scratches.
What to Do If Your Helmet Visor is Damaged
If you find that your helmet visor is damaged beyond simple cleaning or minor adjustments, here’s what you should do:
1. Assess the Damage
Determine if the damage is cosmetic or functional. Cracks, significant scratches, or distorted areas that impair visibility require replacement.
- Cosmetic vs. Functional Damage: Minor scratches may be buffed out, but major damage needs immediate replacement to ensure safety.
2. Purchase a Replacement
When purchasing a replacement visor, ensure it is compatible with your helmet model. Consult your helmet manufacturer or a trusted retailer to find the correct visor.
- Compatibility: Check for compatibility with your helmet’s make and model. Some helmets use specific visors designed for their unique mounting systems.
3. Professional Installation
If you’re unsure about installing a new visor yourself, consider having it done by a professional. Many motorcycle shops offer installation services.
- Professional Help: Professional installation can ensure that the visor is fitted correctly and securely, reducing the risk of issues while riding.
Mastering Helmet Visor Maintenance
Removing and maintaining your motorcycle helmet visor is essential for ensuring safety and comfort while riding. By following this guide, you can effectively manage your visor’s condition and make necessary replacements or cleanings with ease. Regular maintenance and proper care will keep your helmet in top shape and provide you with the best riding experience possible.