How to Charge a Motorcycle Battery: A Comprehensive Guide
Maintaining a charged motorcycle battery is crucial for smooth rides and preventing unexpected breakdowns. Whether you’re dealing with a drained battery or performing regular maintenance, knowing how to charge a motorcycle battery efficiently can save you time and ensure your bike remains reliable. This guide will walk you through everything you need to know about charging your motorcycle battery, from preparation to execution.
Understanding Motorcycle Batteries
Types of Motorcycle Batteries
Before diving into the charging process, it’s essential to understand the different types of motorcycle batteries:
- Lead-Acid Batteries: Traditional and commonly used, these batteries are known for their reliability and cost-effectiveness. They come in two forms: wet (flooded) and sealed.
- AGM Batteries: Absorbent Glass Mat (AGM) batteries offer higher performance and durability. They are sealed and spill-proof, making them a popular choice for modern motorcycles.
- Gel Batteries: Gel batteries are similar to AGM but use a gel electrolyte. They are known for their deep discharge capabilities and are also sealed and maintenance-free.
When to Charge Your Motorcycle Battery
Charging your motorcycle battery is necessary in several situations:
- After Extended Storage: If your motorcycle has been parked for an extended period, the battery might lose its charge.
- Battery Performance Issues: If you notice your bike struggling to start or the electrical components acting up, it could be a sign that the battery needs charging.
- Routine Maintenance: Regular charging as part of your bike maintenance routine can help extend the life of your battery.
Tools and Materials Needed
To charge your motorcycle battery effectively, you’ll need a few essential tools:
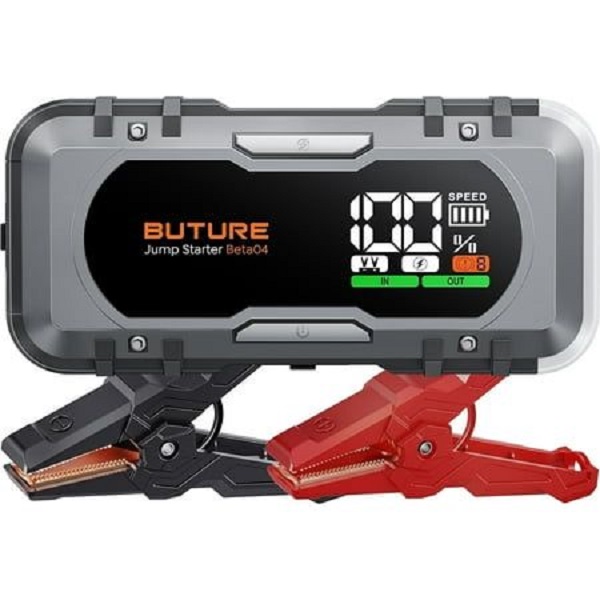
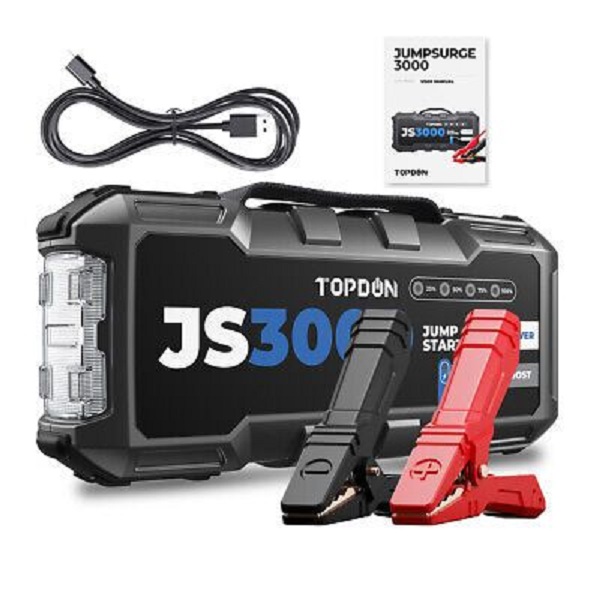
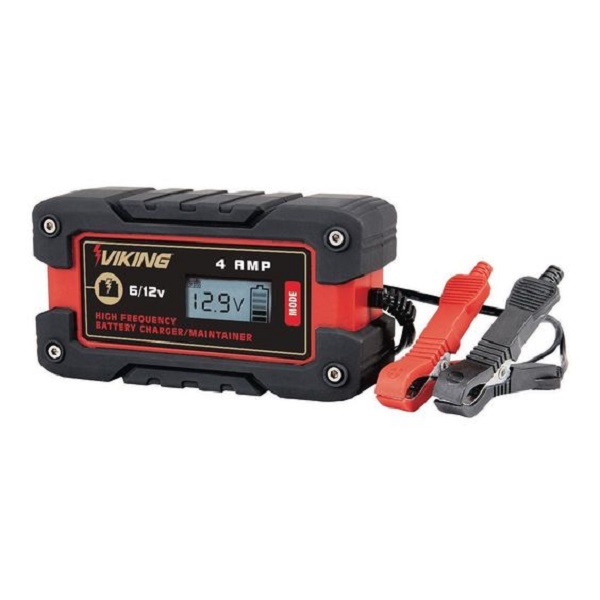
- Battery Charger: Choose a charger compatible with your battery type (lead-acid, AGM, or gel). Smart chargers are ideal as they automatically adjust the charging rate.
- Battery Tender: For maintaining a charge over time, a battery tender or maintainer is useful, especially if your bike is not in frequent use.
- Safety Gear: Wear gloves and safety glasses to protect yourself from any potential battery acid spills or electrical sparks.
- Multimeter: To check the battery’s voltage and ensure it’s charging correctly.
Step-by-Step Guide to Charging Your Motorcycle Battery
1. Prepare Your Motorcycle
- Turn Off the Motorcycle: Ensure your bike is completely powered off to avoid any electrical issues or short circuits.
- Locate the Battery: In most motorcycles, the battery is under the seat or in a side panel. Consult your owner’s manual if you’re unsure where to find it.
2. Remove the Battery
- Disconnect the Battery Terminals: Start by disconnecting the negative (-) terminal first, followed by the positive (+) terminal. This prevents any short circuits while handling the battery.
- Remove the Battery from the Motorcycle: Carefully lift the battery out of its compartment. Handle it with care, as it can be heavy and may contain corrosive acid.
3. Set Up the Charger
- Connect the Charger: Attach the charger’s positive (+) clamp to the battery’s positive terminal and the negative (-) clamp to the negative terminal.
- Select the Correct Setting: Set the charger to the appropriate mode for your battery type. Most chargers have settings for different battery types and sizes.
4. Charging Process
- Start the Charger: Turn on the charger and monitor the charging process. Many smart chargers will automatically adjust the current and voltage as needed.
- Monitor Charging Time: Charging times vary depending on the battery’s condition and charger type. Typically, a battery can take anywhere from 1 to 8 hours to charge fully.
5. Reinstall the Battery
- Disconnect the Charger: Once the battery is fully charged, turn off the charger and remove the clamps from the battery terminals.
- Reinstall the Battery: Place the battery back in its compartment, reconnect the positive (+) terminal first, followed by the negative (-) terminal.
- Secure the Battery: Ensure the battery is securely fastened in place to prevent any movement during riding.
6. Test the Battery
- Check Voltage: Use a multimeter to check the battery’s voltage. A fully charged battery should read around 12.6 to 12.8 volts.
- Start the Motorcycle: Turn on your motorcycle to ensure it starts smoothly and the electrical components function correctly.
Tips for Battery Maintenance
- Keep the Battery Clean: Regularly clean the battery terminals to prevent corrosion, which can affect performance.
- Maintain Proper Fluid Levels: For lead-acid batteries, ensure the electrolyte levels are adequate. Add distilled water if needed.
- Store the Battery Properly: If storing your motorcycle for a long period, use a battery tender to keep the charge stable and prevent degradation.
Common Mistakes to Avoid
- Overcharging: Avoid leaving the battery on the charger for too long. Overcharging can lead to battery damage or reduced lifespan.
- Incorrect Charger Settings: Using the wrong charger settings can harm the battery. Always double-check compatibility before starting the charge.
- Handling Issues: Always handle the battery carefully to prevent spills or damage, and ensure it is properly secured during installation.
Choosing the Right Charger for Your Motorcycle Battery
Selecting the appropriate charger is crucial for effective battery maintenance. Here’s what you need to know about choosing the right charger:
Types of Battery Chargers
- Standard Chargers: Basic chargers provide a fixed charge rate and require manual monitoring. They are suitable for simple needs but may not be ideal for modern battery types.
- Smart Chargers: These chargers automatically adjust the charging rate and can prevent overcharging. They often include features like desulfation and maintenance modes, making them ideal for maintaining battery health over time.
- Maintainers: Battery maintainers, or tenders, are designed to keep your battery at a full charge without overcharging. They’re particularly useful if you store your motorcycle for long periods.
Features to Look For
- Compatibility: Ensure the charger is compatible with your battery type (lead-acid, AGM, or gel). Check for specific settings or modes that match your battery requirements.
- Charging Rate: Choose a charger with an appropriate amperage for your battery. A higher rate can charge the battery faster but might be less gentle on the battery’s longevity.
- Safety Features: Look for chargers with safety features like reverse polarity protection and overcharge prevention to avoid any potential damage.
Maintaining Your Motorcycle Battery
Proper maintenance can significantly extend the life of your motorcycle battery. Here’s how to keep your battery in top shape:
Regular Inspections
- Check for Corrosion: Inspect the battery terminals for any signs of corrosion. Clean them with a solution of baking soda and water if needed.
- Inspect the Battery Case: Look for any cracks or leaks. A damaged battery should be replaced immediately to avoid any hazards.
Charging Routine
- Charge as Needed: Don’t wait until the battery is completely dead to charge it. Regularly check the charge level and top it up as necessary.
- Use a Battery Tender: If you don’t ride frequently, using a battery tender can help maintain the charge and keep your battery ready to go.
Troubleshooting Common Issues
Sometimes, you might encounter issues even with proper charging and maintenance. Here’s how to troubleshoot common problems:
Battery Not Holding a Charge
- Check for Damage: Inspect the battery for any signs of physical damage or leaks.
- Test with a Multimeter: Use a multimeter to check the battery’s voltage. If it’s consistently low despite proper charging, the battery might need replacing.
Motorcycle Won’t Start
- Check Connections: Ensure all battery connections are secure and clean. Loose or corroded connections can prevent the motorcycle from starting.
- Examine the Charger: Make sure the charger is functioning correctly and providing the proper charge.
When to Replace Your Motorcycle Battery
Knowing when to replace your motorcycle battery is essential for avoiding breakdowns. Here are some indicators that it might be time for a new battery:
Signs of a Failing Battery
- Difficulty Starting: If your motorcycle has trouble starting or the engine cranks slowly, it could be a sign of a weak battery.
- Electrical Issues: Flickering lights or malfunctioning electrical components can indicate a failing battery.
Battery Age
- Typical Lifespan: Most motorcycle batteries last between 2 to 5 years, depending on usage and maintenance. If your battery is nearing the end of this range, consider replacing it to avoid potential issues.
Environmental Considerations
Proper disposal and recycling of motorcycle batteries are important for environmental protection:
Battery Disposal
- Follow Local Regulations: Many areas have specific regulations for battery disposal. Check local guidelines to ensure proper disposal.
- Recycling Centers: Many motorcycle shops and recycling centers accept used batteries for recycling.
Conclusion
Charging your motorcycle battery is a straightforward task, but it’s essential for maintaining your bike’s reliability and performance. By following these steps and tips, you can ensure your battery remains in top condition, reducing the risk of unexpected breakdowns and extending its lifespan.