Upgrade Your Ride: How to Install Motorcycle Mirrors in 7 Simple Steps
Ever felt a little blind on the road? If your motorcycle mirrors are broken, loose, or just plain missing, it’s definitely time for an upgrade. But before you hit the high speeds, you need to ensure those mirrors are installed correctly. Here’s your one-stop guide to installing motorcycle mirrors, whether you’re a seasoned rider or a motorcycle newbie.
Understanding Motorcycle Mirror Types
Motorcycle mirrors come in a variety of shapes and sizes, but they generally fall into two main categories:
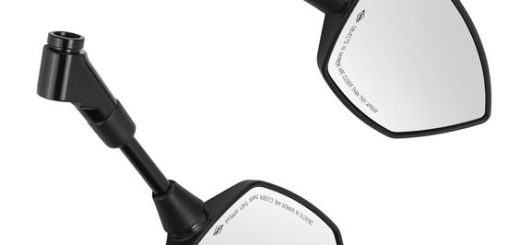
- Bar-end mirrors: These mirrors mount directly to the handlebars, offering a clean and streamlined look. They’re popular with riders who prefer a minimalist aesthetic.
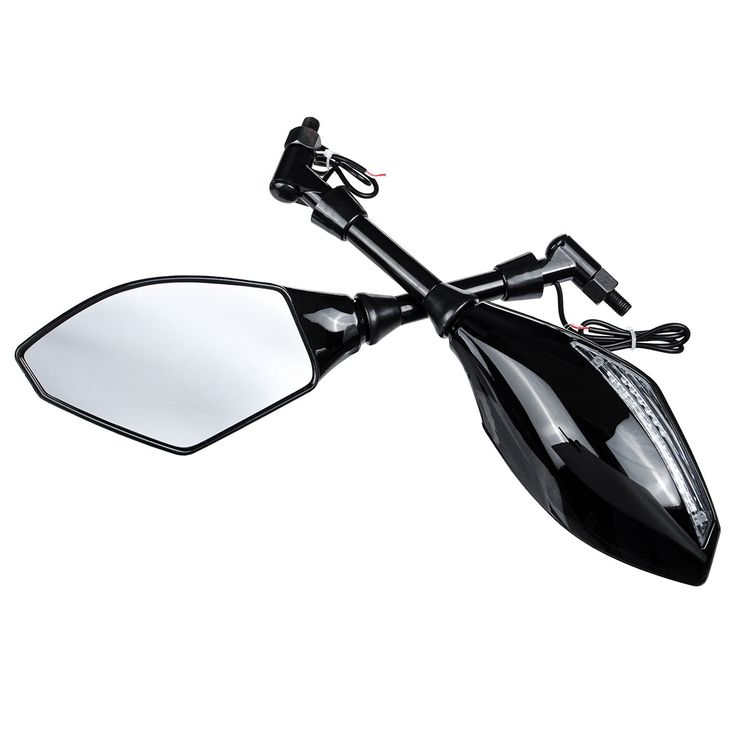
- Fairing-mount mirrors: These mirrors attach to the fairing, the front cowling of your motorcycle. They tend to offer a wider field of view than bar-end mirrors, making them a good choice for touring riders.
Once you’ve chosen your mirror type, it’s time to gather the tools you’ll need for installation.
Assembling Your Toolkit
The specific tools you’ll need will depend on your motorcycle model and the mirror you’ve purchased. However, some general tools you might need include:
- Allen wrenches: Many motorcycle mirrors use Allen bolts for mounting.
- Socket wrenches: Depending on your mirror design, you might need a socket wrench set.
- Screwdrivers: A Phillips head and a flathead screwdriver are handy to have on hand.
- Lock-tite (optional): A drop of Loctite can help prevent vibrations from loosening the mirror bolts over time.
- Shop rags: Keep a clean rag handy for wiping away any grease or dirt.
Consult your motorcycle’s owner’s manual for specific instructions or recommended tools for mirror installation.
Step-by-Step Guide to Installing Motorcycle Mirrors
Now, let’s get down to business! Here’s a general guide to installing motorcycle mirrors. Remember, these are general steps, and you might need to adapt them slightly depending on your specific motorcycle and mirror setup.

-
Prep Your Workspace: Find a clean, well-lit workspace to work on your motorcycle.
-
Remove the Old Mirrors (if applicable): If you’re replacing existing mirrors, locate the mounting bolts and loosen them with your appropriate wrench or Allen key. Carefully remove the old mirrors and any mounting hardware.
-
Prepare the New Mirrors: Most motorcycle mirrors come with some assembly required. Follow the manufacturer’s instructions to assemble the mirror components.
-
Locate the Mounting Point: Identify the designated mounting point on your handlebars or fairing for the new mirror. This might involve removing a small cover or cap to expose the mounting hole.
-
Install the Mirror: Carefully insert the mirror’s mounting arm or stem into the designated mounting point. Thread the mounting bolt through the mirror arm and into the mounting point.
-
Tighten the Bolts: Hand-tighten the mounting bolt first. Then, use your wrench or Allen key to tighten the bolt securely, but be careful not to over-tighten and strip the threads.
-
Adjust the Mirror Position: Once the mirror is secure, loosen the adjustment knobs and rotate the mirror head until you achieve a clear rear view. Make sure you can see a good portion of the lane behind you and any approaching vehicles.
-
Double-Check Everything: Give the mirror a final shake to ensure it’s firmly mounted. Re-check the tightness of all bolts and adjust the mirror position if necessary.
-
Apply Loctite (optional): For added security, you can apply a small drop of Loctite to the threads of the mounting bolt. This will help prevent the bolt from vibrating loose over time.
-
Repeat for the Other Side: Once you’ve successfully installed one mirror, follow the same steps to install the mirror on the other side of your motorcycle.
Congratulations! You’ve just installed your new motorcycle mirrors. Take your bike for a test ride and ensure you have a clear view behind you before hitting the road.
Finding the Perfect Fit: Choosing Motorcycle Mirrors
Now that you know the installation process, let’s delve into choosing the perfect motorcycle mirrors for your needs. Here are some key factors to consider:
-
Mirror Type: As mentioned earlier, motorcycle mirrors come in two main types: bar-end and fairing-mount. Consider your riding style and the overall aesthetics of your motorcycle when making your choice.
-
Field of View: Prioritize a mirror that offers a clear and unobstructed view of the lane behind you. Avoid mirrors with limited visibility due to a small size or obstructed design.
-
Adjustability: Look for mirrors with adjustable knobs or levers that allow you to easily position the mirror head for optimal visibility. This is crucial for riders of different heights or those who prefer a specific viewing angle.
-
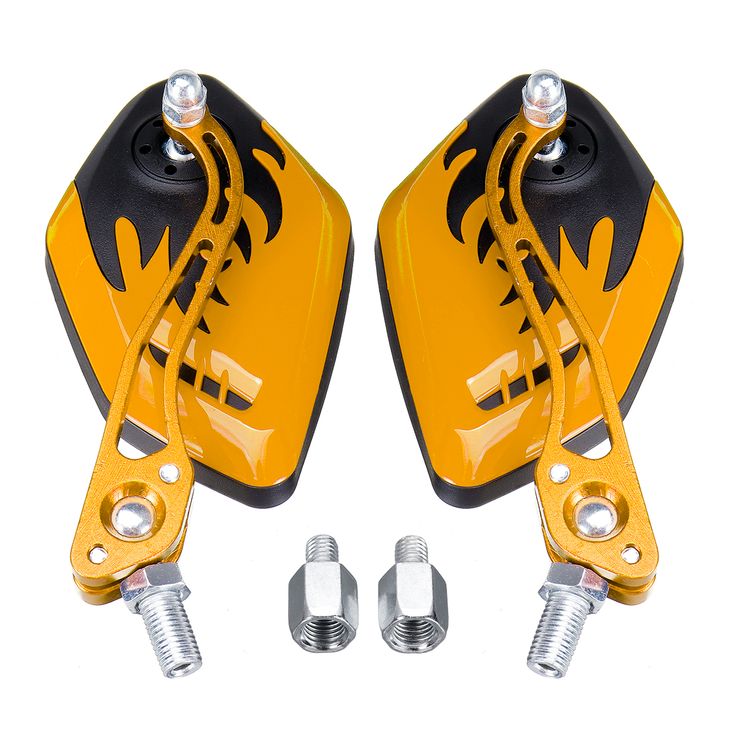
Material: Motorcycle mirrors are typically made from metal, plastic, or a combination of both. Metal mirrors are generally more durable but can be heavier. Plastic mirrors are lighter but might be more susceptible to scratching or breaking in a fall.
-
Vibration Resistance: Choose mirrors with a design that minimizes vibrations. This ensures a clear and stable image even when riding on rough roads. Look for features like dampening mechanisms or a weighted base for the mirror arm.
-
Legality: Motorcycle mirrors are considered safety equipment, and regulations regarding their size, position, and functionality can vary depending on your location. Ensure your chosen mirrors comply with local laws.
-
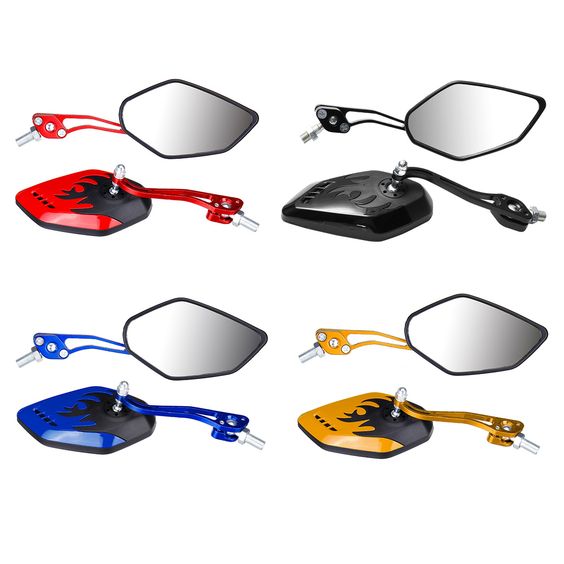
Aesthetics: Motorcycle mirrors are not just functional; they can also contribute to the overall look of your bike. Choose mirrors that complement the style of your motorcycle, whether it’s a classic cruiser, a sporty racing machine, or anything in between.
Beyond these factors, consider these additional points:

-
Blind Spot Mirrors: For added safety, some riders opt for small blind spot mirrors that attach to the existing mirrors. These provide a wider viewing angle and help eliminate blind spots.
-
Convex vs. Flat Mirrors: Convex mirrors offer a wider field of view but can distort objects, making it difficult to judge distances accurately. Flat mirrors provide a more accurate representation of distances but have a narrower viewing angle. Choose based on your preference and riding style.
-
Aftermarket vs. OEM Mirrors: Original Equipment Manufacturer (OEM) mirrors are designed specifically for your motorcycle model. Aftermarket mirrors offer a wider variety of styles and features, but ensure compatibility with your motorcycle’s mounting points.
By carefully considering these factors, you can choose motorcycle mirrors that not only enhance your safety but also complement your riding style and the aesthetics of your motorcycle.
Rev Up Your Ride with Enhanced Visibility
Motorcycle mirrors are a crucial safety component, allowing you to see what’s behind you and change lanes or merge into traffic safely. With the knowledge of installation procedures and the factors to consider when choosing mirrors, you’re well on your way to a smooth and safe ride.
Don’t settle for blurry vision or limited visibility. Invest in a high-quality pair of motorcycle mirrors that provide a clear view of your surroundings. It’s a small investment that can make a big difference on the road.