How to Tighten a Motorcycle Helmet?
A well-fitting helmet is crucial for motorcycle safety. It should be snug but not uncomfortable, offering maximum protection without restricting your movement. But how do you achieve that perfect balance? This guide dives deep into how to tighten a motorcycle helmet for optimal security and comfort on the road.
Understanding Helmet Fit
Before we delve into tightening techniques, let’s establish what a good helmet fit feels like. Here are the key aspects:
- Snug but Comfortable: The helmet should feel secure on your head without creating pressure points. You shouldn’t be able to easily rotate it from side to side, but you should be able to move your head comfortably.
- Cheek Pads: These should gently hug your cheeks without feeling overly constricting. You should be able to fit two fingers comfortably between your cheek and the pad.
- No Pressure Points: The helmet shouldn’t pinch or press on your forehead, temples, or jaw.
- Snug Chin Strap: The chin strap should be secure enough to prevent the helmet from coming loose in a crash, but not so tight that it cuts into your throat.
Common Motorcycle Helmet Closure Systems
Most motorcycle helmets utilize two primary closure systems: double D-rings and ratchet buckles. Let’s explore how to tighten each type effectively.
Double D-Rings (The Most Secure Option)
- Put on the Helmet: Slide the helmet on with the chin strap hanging loose.
- Thread the Strap: Pull the loose end of the strap through both D-rings.
- Loop it Back: Take the end of the strap and loop it back through the first D-ring you threaded it through.
- Snug it Up: Gently pull on the red tab at the end of the strap to tighten the fit. You should be able to fit two fingers snugly between the chin strap and your throat.
- Secure the End: Tuck the excess strap under the D-rings to prevent flapping in the wind.
Double-check that the strap is threaded correctly through both D-rings. Ensure the red tab isn’t twisted, allowing for smooth tightening.
Ratchet Buckles (Convenient but Requires Attention)
- Put on the Helmet: Similar to double D-rings, wear the helmet with the strap loose.
- Close the Buckle: Locate the buckle on the chin strap and close it by pushing the two ends together.
- Tighten the Ratchet: Pull the strap downwards to tighten the fit. A ratchet mechanism will engage, providing a secure hold.
- Comfort Check: Ensure the helmet feels snug without causing discomfort.
- Hear the Click: Always listen for an audible click when tightening the ratchet buckle. This confirms a secure closure.
Tips: Avoid over-tightening the ratchet buckle, as it can damage the mechanism. If the ratchet feels loose or worn, consider replacing the buckle for optimal safety.
Additional Techniques for a Perfect Fit
While closure systems play a vital role, here are some additional ways to achieve a snug and comfortable fit:
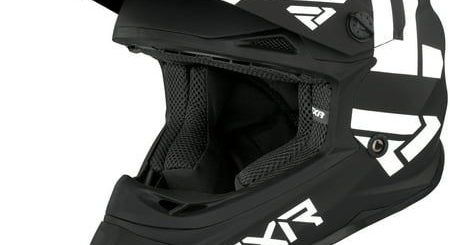
- Helmet Cheek Pads: Many helmets come with replaceable cheek pads of varying thicknesses. If your helmet feels loose, consider purchasing thinner cheek pads for a tighter fit.
- Headliners and Neck Rolls: Some helmets have adjustable headliners and neck rolls that can be fine-tuned for a more customized fit. Consult your helmet’s manual for specific instructions.
- Break-in Period: New helmets may feel slightly stiff initially. Allow some time for the padding to conform to your head shape for a more comfortable fit over time.
Remember: Never modify your helmet in ways not recommended by the manufacturer. This can compromise its safety effectiveness.
The Importance of a Tight Helmet
A loose helmet is a safety hazard. Here’s why a snug fit is crucial:
- Protection: In a crash, a loose helmet can roll off your head, leaving you vulnerable to serious head injuries.
- Wind Noise: A loose helmet allows wind noise to enter, causing discomfort and fatigue on long rides.
- Aerodynamics: A loose helmet can disrupt aerodynamics, creating instability at high speeds.
When to Replace Your Helmet
Helmets have a lifespan, and their effectiveness diminishes over time. Here are some signs indicating it’s time for a new helmet:
- Visible Damage: Cracks, deep scratches, or a compromised shell are signs of a potentially compromised helmet.
- Loose Interior Padding: Worn-out padding reduces the helmet’s ability to absorb impact.
- Age: Most helmet manufacturers recommend replacing your helmet every 5-7 years, regardless of visible damage.
Choosing the Right Helmet for a Secure and Comfortable Fit (How to Tighten a Motorcycle Helmet)
Picking the right helmet goes hand-in-hand with achieving a secure and comfortable fit. Here are some key factors to consider when selecting your helmet:
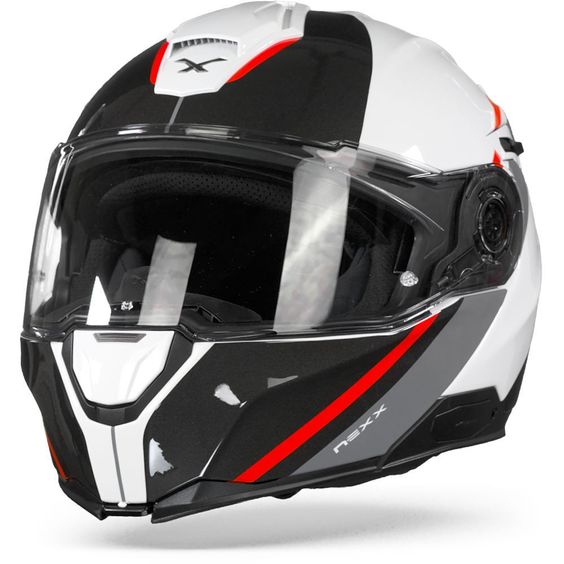
- Helmet Size and Shape: Helmets come in various shapes (round oval, intermediate oval, long oval) to accommodate different head shapes. A proper fit should feel snug without creating pressure points. Ideally, visit a motorcycle gear store and try on several helmets to find the one that best suits your head shape and size.
- Safety Certifications: Ensure your chosen helmet meets safety standards set by organizations like the Department of Transportation (DOT) or the Snell Memorial Foundation. These certifications guarantee the helmet has undergone rigorous testing to meet specific impact absorption and penetration resistance criteria.
- Material: Most motorcycle helmets are constructed from lightweight yet strong materials like polycarbonate or fiberglass. Consider the weight and ventilation features when making your choice. A lighter helmet reduces neck strain on long rides, while good ventilation keeps you cool and comfortable.
- Visor/Shield: Choose a visor that offers a clear, undistorted view and provides adequate protection from wind, rain, and debris. Consider features like anti-scratch and anti-fog coatings for enhanced visibility during various weather conditions.
Taking Care of Your Helmet for Long-Lasting Performance (How to Tighten a Motorcycle Helmet)
Proper helmet care extends its lifespan and ensures optimal performance. Here are some tips:
- Cleaning: Regularly clean the helmet’s exterior with a mild soap solution and lukewarm water. Avoid harsh chemicals or abrasive cleaners that can damage the shell or visor.
- Visor Care: Clean the visor with a microfiber cloth and a dedicated visor cleaner. Avoid using paper towels or abrasive materials that can scratch the surface. Some visors offer anti-fog treatments; use appropriate cleaning solutions to maintain their effectiveness.
- Storage: When not in use, store your helmet in a cool, dry place away from direct sunlight. Excessive heat can damage the padding and compromise the helmet’s structural integrity.
- Interior Maintenance: The helmet’s removable liner should be washed periodically according to the manufacturer’s instructions. This keeps the padding fresh and prevents the build-up of sweat and grime.
By following these simple care tips, you can ensure your helmet remains comfortable, safe, and functional for years to come.
Remember: A well-maintained helmet is just as crucial as knowing how to tighten it properly for a secure and comfortable ride.
Prioritize Safety and Comfort with a Secure Helmet Fit (How to Tighten a Motorcycle Helmet)
Knowing how to tighten a motorcycle helmet is essential for maximizing safety and comfort on the road. By following the techniques outlined in this guide and utilizing a properly fitted helmet, you can ensure optimal protection while enjoying a more enjoyable riding experience.
Don’t compromise on safety. Invest in a quality helmet that meets safety certifications and fits your head shape comfortably. Regularly check the fit and condition of your helmet, and replace it when necessary. Remember, a motorcycle helmet is your essential piece of safety equipment – make it count!