How to Draw a Motorcycle Helmet Like a Pro
Ever wanted to capture the sleek lines and protective power of a motorcycle helmet on paper? Whether you’re a seasoned artist or just starting your artistic journey, drawing a motorcycle helmet is a fantastic way to explore form, shading, and perspective. This guide will equip you with all the skills and knowledge you need to create a showstopping motorcycle helmet drawing.
Gear Up for Drawing Success: Essential Tools and Materials
Before we jump into the nitty-gritty of sketching, let’s gather the necessary supplies:
- Pencils: A good selection of pencils is key. Use a 2H or HB pencil for initial outlines and lighter details. A softer pencil like 2B or 4B will come in handy for shading and creating depth.
- Drawing Paper: Opt for smooth, medium-weight drawing paper that allows for clean lines and easy blending.
- Eraser: A good quality, kneaded eraser is your friend. It lifts graphite gently without damaging the paper.
- Sharpener: Keep your pencils sharp for crisp lines and precise details.
- Ruler (Optional): A ruler can be helpful for ensuring symmetry and straight lines, particularly if you’re drawing a full-face helmet.
- Sharpener: Keep your pencils sharp for crisp lines and precise details.
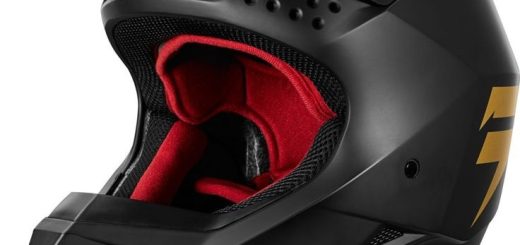
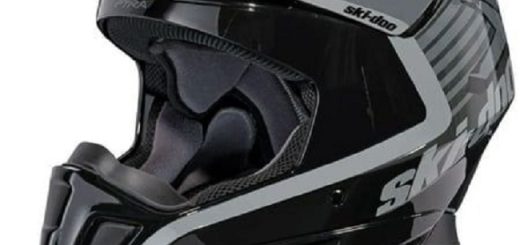
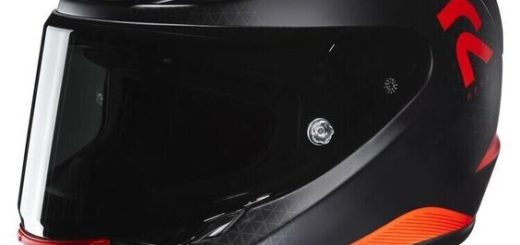
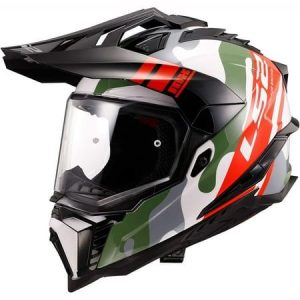
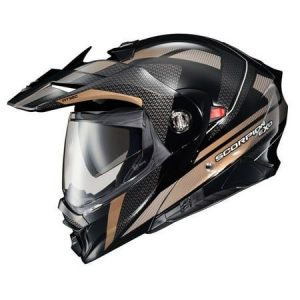
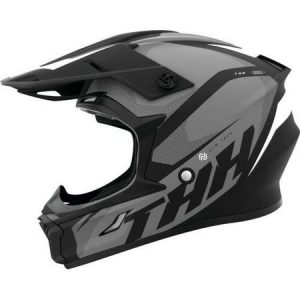
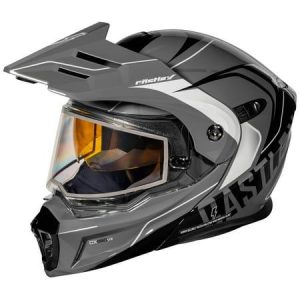
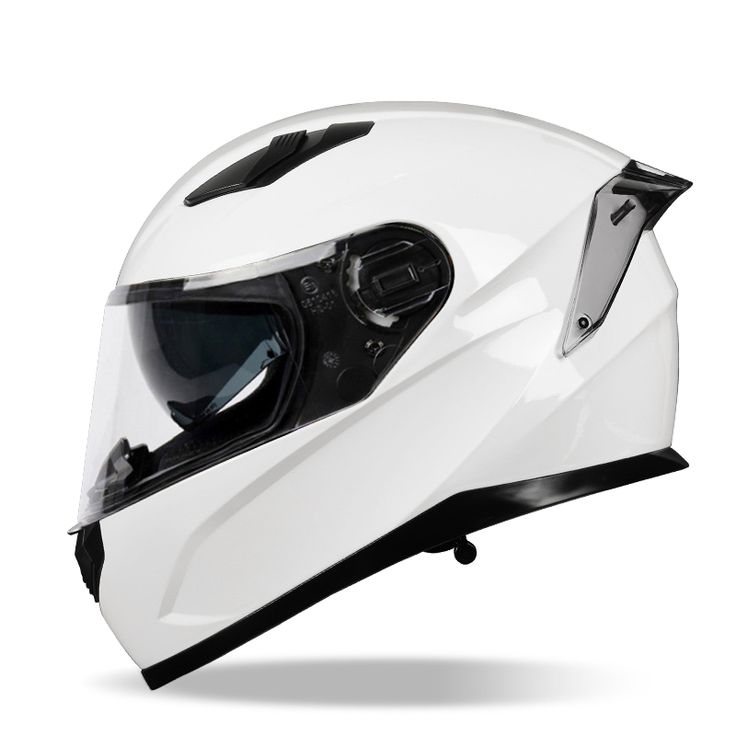
- Reference Photos: Having motorcycle helmet pictures on hand serves as a visual guide and inspiration.
Consider using a blending stump or tortillon for smoother shading transitions.
Laying the Foundation: Sketching the Basic Motorcycle Helmet Shape
-
Start with a Light Outline: Begin with a faint oval shape to represent the helmet’s main body. Don’t worry about perfect symmetry at this stage; focus on capturing the overall proportions.
-
Refine the Shape: Using light strokes, refine the oval into a more realistic helmet form. Motorcycle helmets typically taper slightly towards the chin area. Reference photos can be very helpful here.
-
Adding Depth: Lightly sketch two parallel lines running vertically down the center of the helmet. These lines will act as a guide for facial features later on a full-face helmet or create a central ridge on some open-face helmets.
-
Visor Time (Optional): For a full-face helmet, sketch a curved line above the front of the oval shape to represent the visor opening. You can adjust the curve depending on the desired visor style.
Keep your initial lines light as you can always erase and refine them later.
Bringing Your Motorcycle Helmet to Life: Essential Details and Features
Now that you have a solid foundation, let’s delve into the details that will make your motorcycle helmet drawing truly come alive!
-
Visor Details (Full-Face): If you opted for a full-face helmet, refine the visor shape and add details like hinges or a visor mechanism depending on the helmet style.
-
Ventilation System: Many motorcycle helmets feature vents for air circulation. Research different ventilation styles and lightly sketch them onto your drawing.
-
Face Shield (Optional): Some full-face helmets come with a removable face shield. If this is the case for your reference photo, add a curved line above the visor to represent the shield.
-
Chin Strap: A chin strap is a crucial safety element. Sketch two curved lines extending from the lower sides of the helmet towards the back, representing the strap. You can add a buckle detail at the meeting point.
-
Open-Face Helmets: For open-face helmets, you can add details like a goggle strap across the top or a mouth guard depending on the style.
Use a reference photo to ensure you capture the specific details and proportions of your chosen helmet style.
Shaping Up Your Masterpiece: Adding Dimension with Shading
Shading breathes life into your drawing, creating a sense of form and depth. Here are some shading techniques to consider:
- Hatching: Create parallel lines that follow the contours of the helmet to create shadows and highlights. Vary the density of the lines for a more natural effect.
- Cross-Hatching: Layer hatching lines in different directions to create darker tones and add depth to rounded surfaces.
- Stippling: Use tiny dots to build up shadow areas. This technique can create a smooth, textured effect.
Start with light shading and gradually build up the intensity. Use a blending stump or tortillon to smoothen out harsh lines and create softer transitions between light and shadow.
Consider the light source when applying shadows. Where would the light hit the helmet, and where would shadows fall?
Adding Polish: Refining Lines and Finishing Touches
Once you’re happy with the shading, it’s time to refine your lines and add those finishing touches that elevate your motorcycle helmet drawing to the next level.
-
Line Confidence: Now that you have a well-defined sketch with shading, go over your initial lines with a slightly darker pencil (around HB) to create a more confident and finished look.
-
Erasure Magic: Carefully erase any unnecessary construction lines or faint outlines that are no longer needed.
-
Details, Details: This is where you can add specific details that personalize your drawing. Refer to your photo reference and incorporate elements like brand logos, decals, scratches, or even a cool paint job.
-
Background (Optional): A background can add context and visual interest to your drawing. You can keep it simple with a solid color or add a landscape element like a winding road to evoke a sense of movement.
Sharpen Up: Sharpen your pencils to ensure crisp lines for the final details.
Visor Flair: Bringing Transparency to Life (Full-Face Helmets Only)
For a full-face helmet drawing, capturing the visor’s transparency adds a layer of realism. Here are some approaches:
-
Light Touch: Leave the visor area mostly blank, using very faint lines to suggest the visor’s shape and some minor reflections.
-
Gradient Shading: Use a very light pencil to create a subtle gradient within the visor area, hinting at the background scene without obscuring the helmet details.
-
Reflected Highlights: Lightly sketch highlights and reflections on the visor surface to suggest the surrounding environment.
The key with visors is to maintain a sense of transparency while subtly conveying what’s behind it.
Gear Up for Greatness: Pro Tips and Tricks for Motorcycle Helmet Drawing Champions
Here are some bonus tips to take your motorcycle helmet drawings from good to great:
-
Practice Makes Perfect: As with any art form, practice is key. The more motorcycle helmets you draw, the more comfortable and confident you’ll become.
-
Experiment with Styles: Don’t be afraid to experiment with different drawing styles. Try a more realistic approach, a cartoon aesthetic, or even a detailed pen and ink illustration.
-
Embrace Imperfections: Sometimes, minor imperfections can add character and realism to your drawing. Don’t strive for absolute perfection; let your artistic personality shine through.
-
Get Inspired: Immerse yourself in the world of motorcycles! Look at motorcycle magazines, attend rallies, or watch motorcycle races. The more you see different helmet designs, the more inspiration you’ll find.
Rev Up Your Creativity: Call to Action
Now that you’re armed with the knowledge and skills to draw a showstopping motorcycle helmet, it’s time to unleash your creativity! Grab your pencils, find an inspiring reference photo, and get sketching. Whether you’re a seasoned artist or just starting out, drawing a motorcycle helmet is a fantastic way to explore perspective, shading, and design principles. So, gear up, unleash your inner artist, and create a masterpiece that captures the spirit and style of the open road!